0
Shipping, taxes, and discount codes calculated at Checkout


Like the rest of the body, eyes come in all shapes and sizes, one of which is the hooded eyes. It is actually incredibly popular. Many people love such eye makeup, including some of the world's most stunning celebrities.
Hooded eye is characterized by excess skin folds down from brow to lashes, natural crease appeared hidden, less visible eyelids. The key to hooded eyes makeup is learning how to apply eyeshadow to your eyes for a wider effect and choose a pair of colored lenses to make you look more awake.
In the following, I would show you the steps of a hooded eyes makeup with a picture, then I would like to talk about some details when we complete this make-up and some common errors you should avoid.

Some tips:
Paint your eye shadow in a higher position than you might think. Most eyeshadow tips only asks eyeshadow to be brought up as high as your natural crease ,yet when it comes to hooded eyes, things have changed .Actually You need to apply color slightly above the crease so that you can see the color when your eyes are open. The trick here is, using a flame-pleated-shape makeup brush apply eyeshadow from the eye fold to the brow bone .This will put a shadow on the protruding hood and create the illusion of the hoods receding.

DO’S & DON’TS of hooded eyes
Do use light matte shades on crease, a mistake ladies with hooded eyelids often make is to wear a light sparkly color, this will highlight those hoods you intend to hide. Just a medium toned color will be okay after that apply your light sparkly color on the eyelid. The second one, do create thin eyeliner, apply your eyeliner really close to the roots of your eyelashes, this will make your eyelashes look thicker and really help broaden your eyes. What’s more, don’t apply liner thick in the center of eyelid and don’t drag dark color into lower brow or you will have sleepy eyes.
Whether you want to wear a night-out look or simply appear more bright-eyed for your day at the office, hooded eyes can both meet them and make you shine. You can adjust the range of eye shadow for different makeup. According to the makeup effects to determine the color of the colored contact lenses.

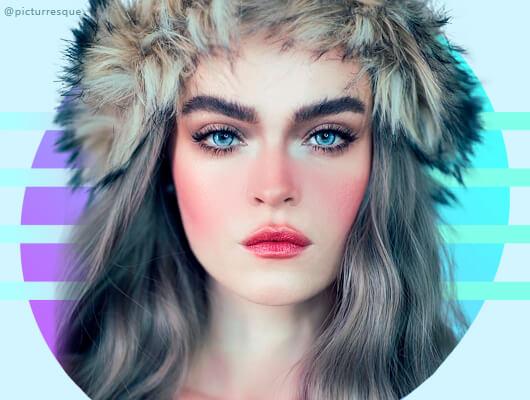
To create a best day look, you can enhance the visible lid space, sweep a light shade across entire lid, then blend a medium shade to crease, diffusing upwards. Mix up the line upper lashline with a dark matte shade, diffusing upwards at outer corner. Blue-Green lenses adds a sense of mystery and quietness to this makeup and matches well with the color of eyeshadow, perfect for everyday makeup.
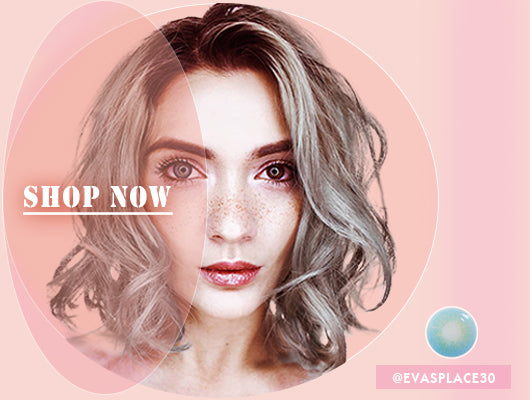
If you are going to a formal occasion or want to put up a party queen makeup, applying a dark shade across entire lid and a light shade to brow bone and inner corner, blending upwards above crease Browncontact lenseswith patterns enhances your iris pattern with golden shine. It combines 3 tones of brown, gold and grey, gorgeously embellish your eyes.
Comments will be approved before showing up.